This scroll ended up being a year in the making...to the day no less.
Originally awarded at the Coronation if Ioannes and Honig, it was finally given out at the Coronation of Brennan III and Caoilfhionn III. Here's some background as to the goings on of this bad boy.
I had heard this scroll went immediately to backlog and was like....seriously? Had I known, I would have done it! I like Liadan and she's cool people! Also early period scrolls seem to be my jam. I should do the thing! I coordinated with Anastasia da Monte, Liadan's OGR, to see if we could come up with something appropriate. I asked her if she's like to do some words and between both of our busy summers, real work didn't start until September. In that time, I solicited source ideas from a variety of people. Started sketching. Threw out sketches. Re-sketched. Nothing felt right.
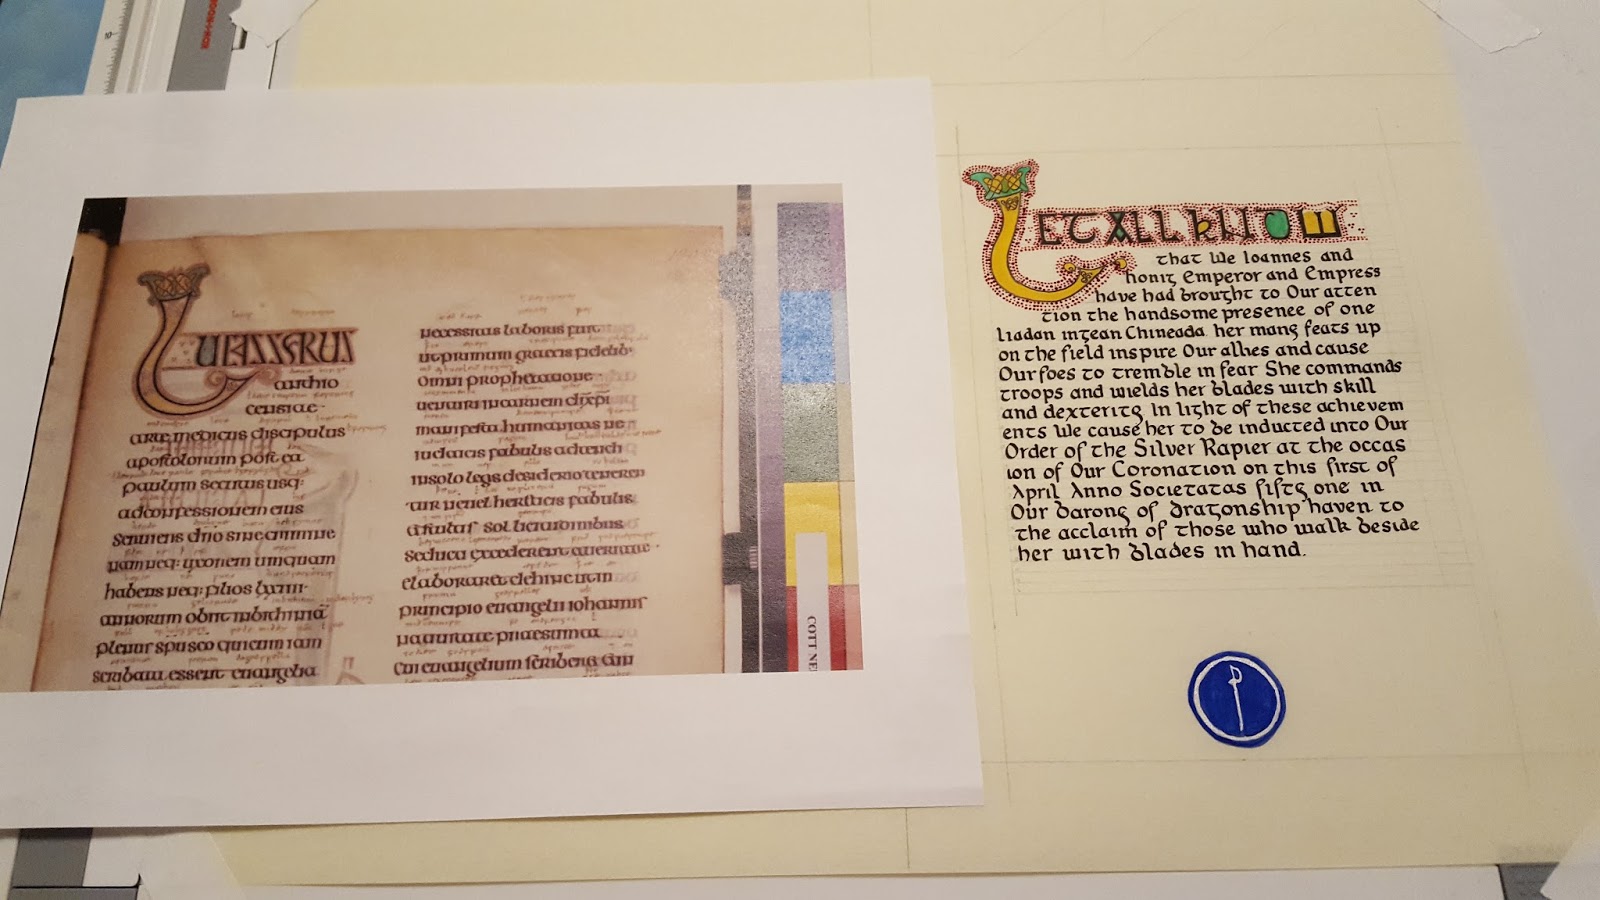
Enter Marieta and the gift that keeps on giving - The Lindisfarne Gospel. Also known as "What to give an early Irish persona when you don't want to do something from the Book of Kells". The entire manuscript is available as a featured piece on the British Library's online catalog.
I made two solid attempts at the calligraphy (a Carolingian hand which is not correct for this document, but it's what I knew at the time) which both ended is horrible failures where for some reason, my hand gave out on doing anything useful. It was so bad even my usual optimistic critic said something to the effect of "Oh it's not so....oh...oh yeah. No take a break from this one." When your support network says walk away, you walk away.
Enter Master Robert - who we asked very nicely to run through the letter forms from the Lindisfarne Gospel at one of the recent Quintavia Scribal Moots. Robert with his blend of teaching, storytelling, humor, and instigating had the entire room wrapped up in how to hack the forms apart and little tricks to make it look good. Armed with newfound confidence, I did the thing I've been trying to do (and have had success with other assignments) which was being a "proper" scribe which was using the exemplar for the calligraphy letter forms.
Something to note - I had a minor panic that I had too many words for my 5x7 scroll area and decided to cut some out....only to find out I had too few. Anastasia's words went right back in, but some creative license was taken to make them work with my panic error.
Long story short (it's complicated and temporary) - I had the calligraphy done and it looked lovely. I then needed to do the painting and finishing work....with my newly developed carpal tunnel...in both hands.
The top line of capitol letters were painted using Pelikan ink (my ink of choice) after being freehand sketched. I used a size 30/0 liner and a size 0 brush.
I cheated on the knot work in the center of the "L" and only did the top and bottom knot as well as making them less complicated. All the lines connected, but I painted over my pencil drawing and had to fake it from scratch with a micron pen.
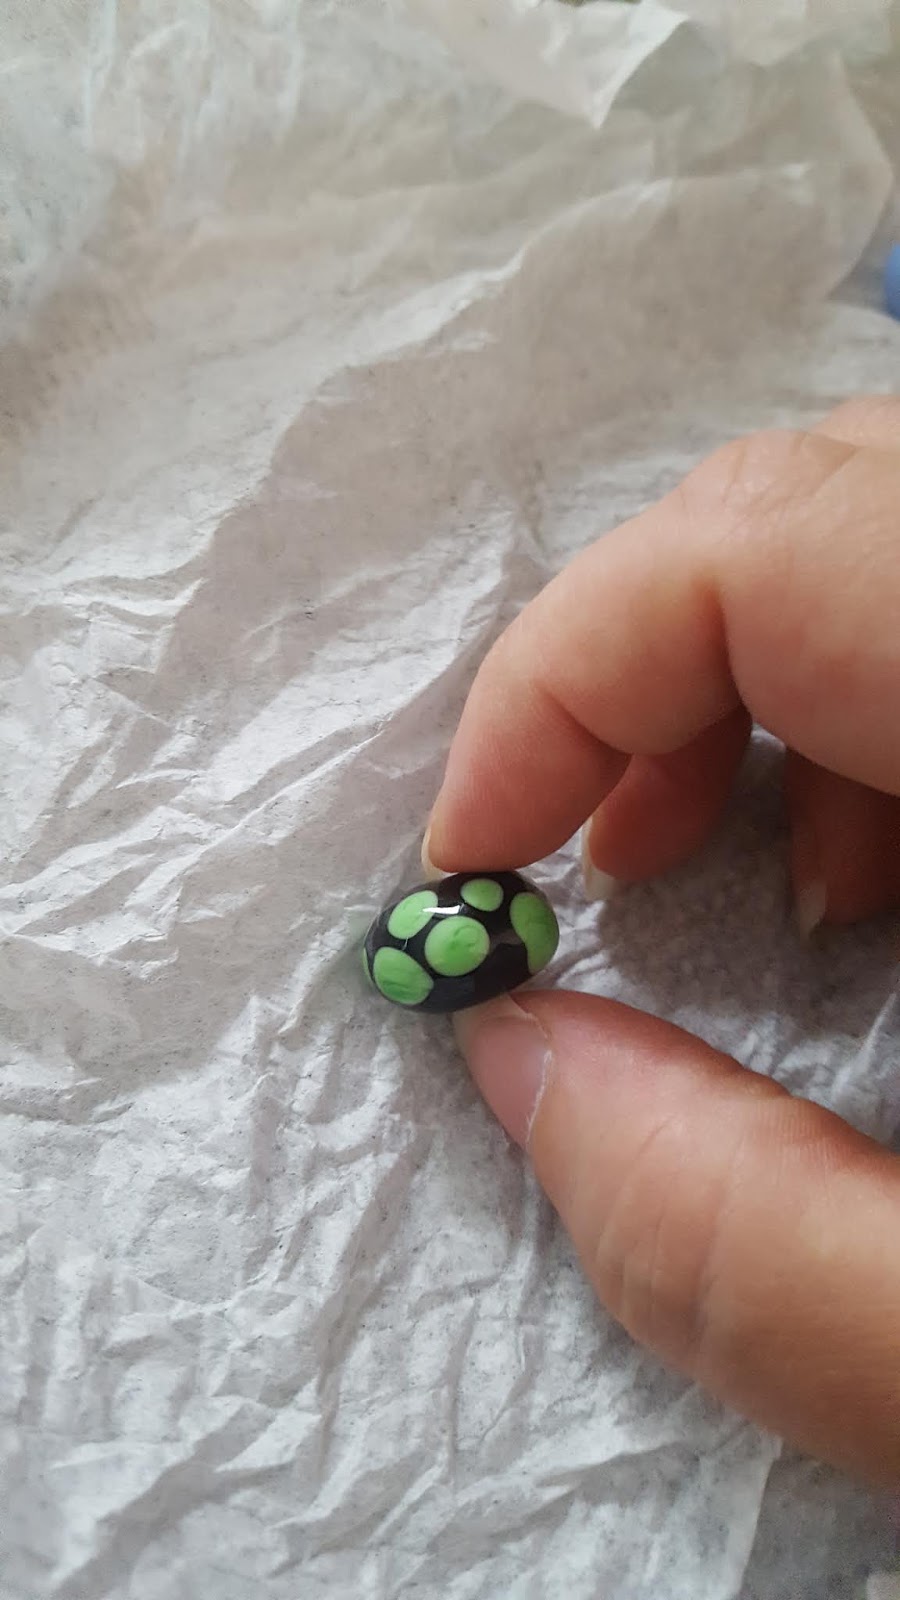
DOTS FOR DAYS. They were nerve wracking and I hated them. In talking to a few other scribes, the toothpick method while good is inferior to the cat whisker method of dot creation. Given the state of my hands, I wasn't going to even attempt this even if I had found out about it prior to finishing the piece.
All in all this was a success. I love the "g"'s in this hand (which is a insular hand with tweaks from the source) and it was incredibly worth it for someone who I like and turns out LOVES early period scrolls.
Lesson learned: Sometimes you need to take a step back to take a few steps forward.
A+. Would scribe again.
Recipient: Liadan ingean Chineada
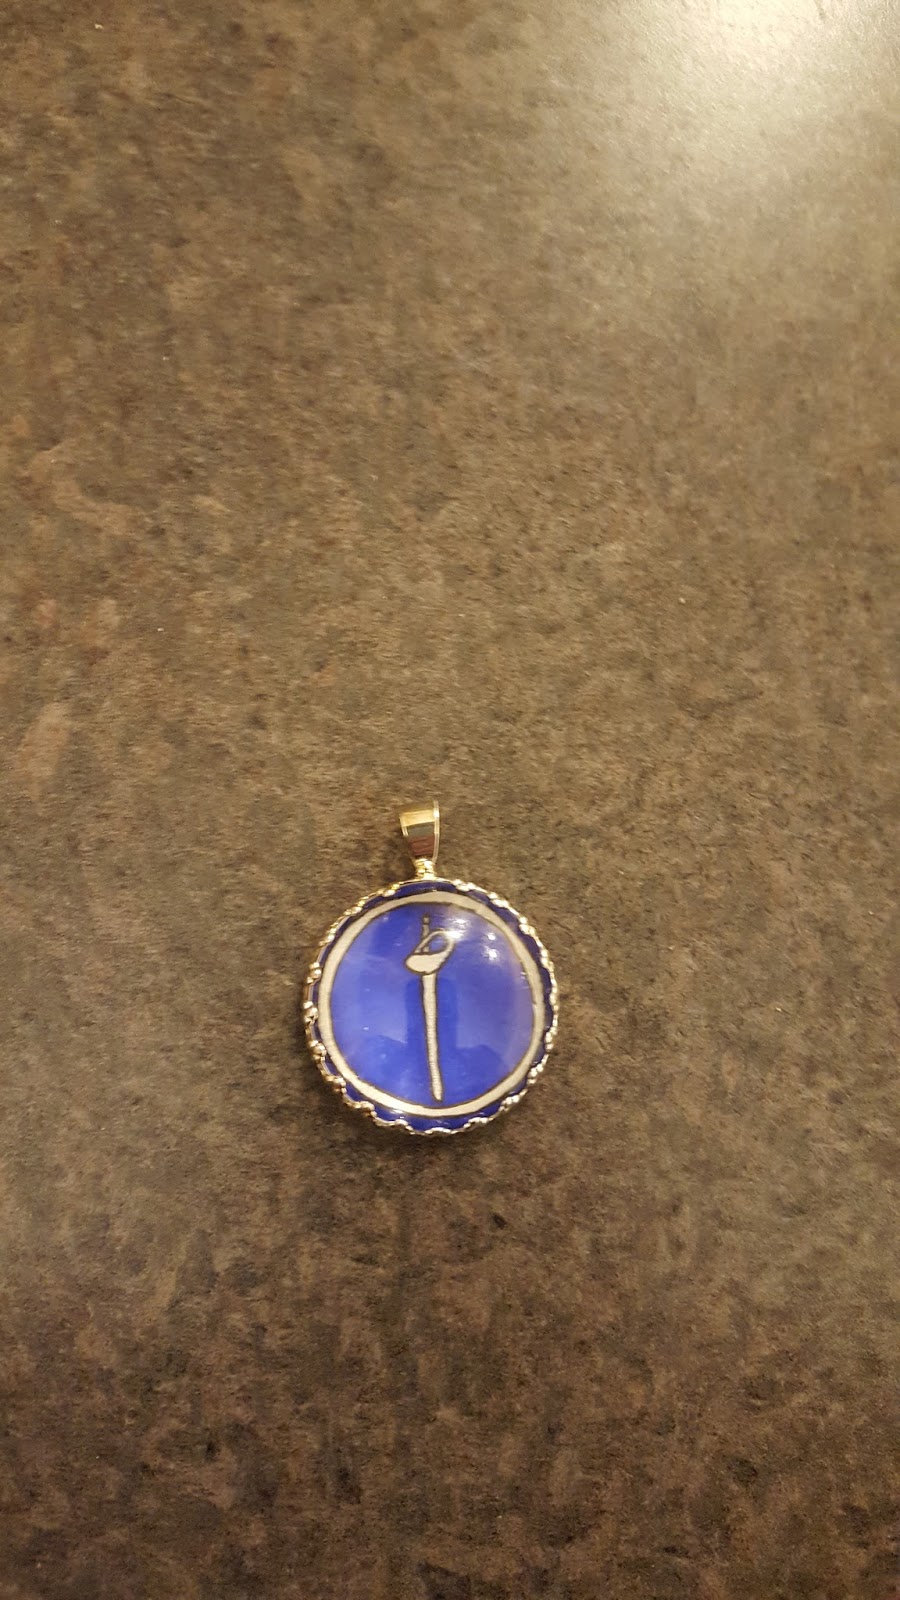
Award: Silver Rapier
Words: Anastasia da Monte
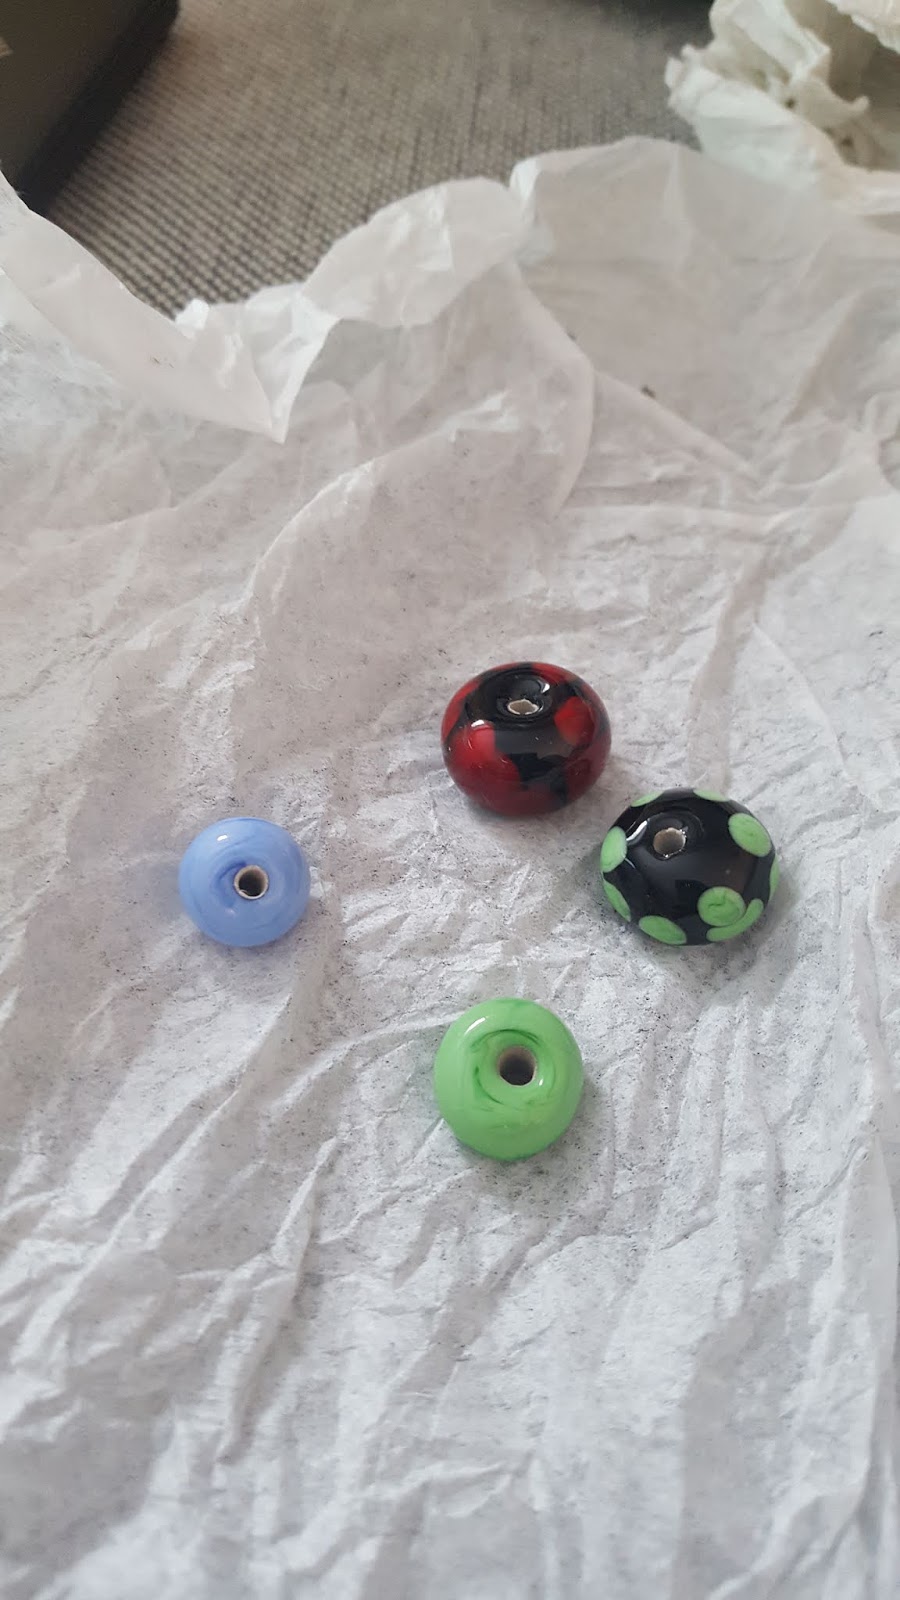
Materials: gouache and ink on pergamenata
Source: Lindisfarn Gospel f131r
 |
| Scroll next to the exemplar |
 |
| So...many...dots.. |
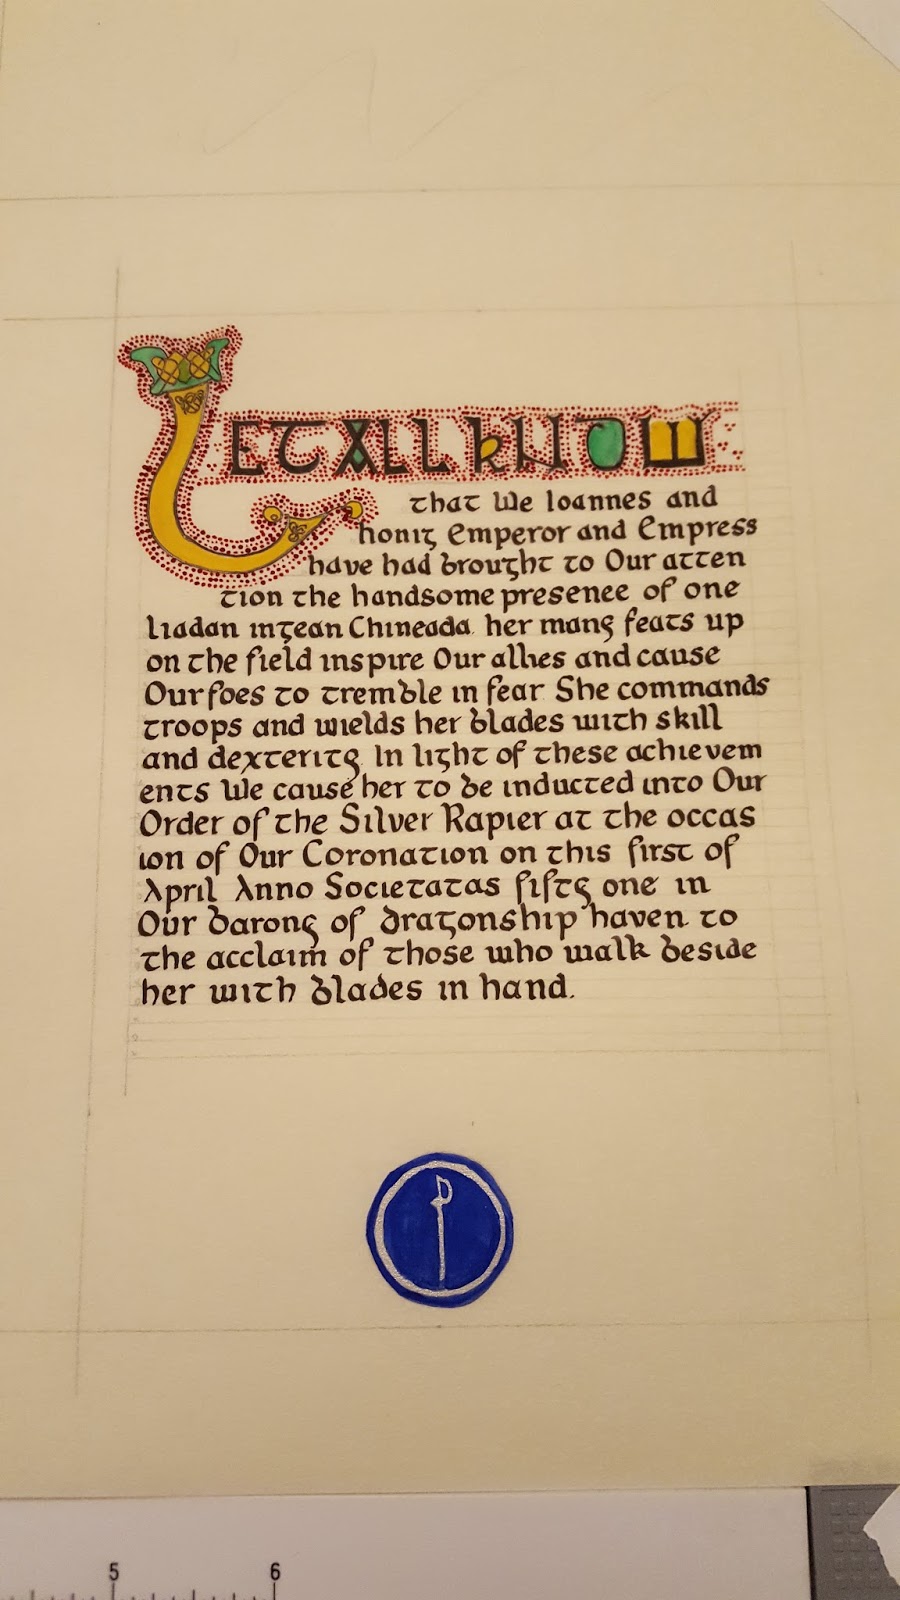
Words:
Let all know that We, Ioannes and Honig, Emporer and Empress of Our Great Eastern Empire, have had brought to Our attention the Handsome presence Liadan Ingean Chineada among Our rapier fighters.
Liadan’s many feats upon the tournament list as well as the melee field inspire Our allies and cause Our foes to tremble in fear. She commands troops and wields her blades with skill and dexterity. In light of these achievements and to the acclaim of those who walk beside her with blades in hand, We cause her to be inducted into Our Order of the Silver Rapier at the occasion of Our Coronation on this First of April Anno Societatas 51 in Our Barony of Dragonship Haven.